
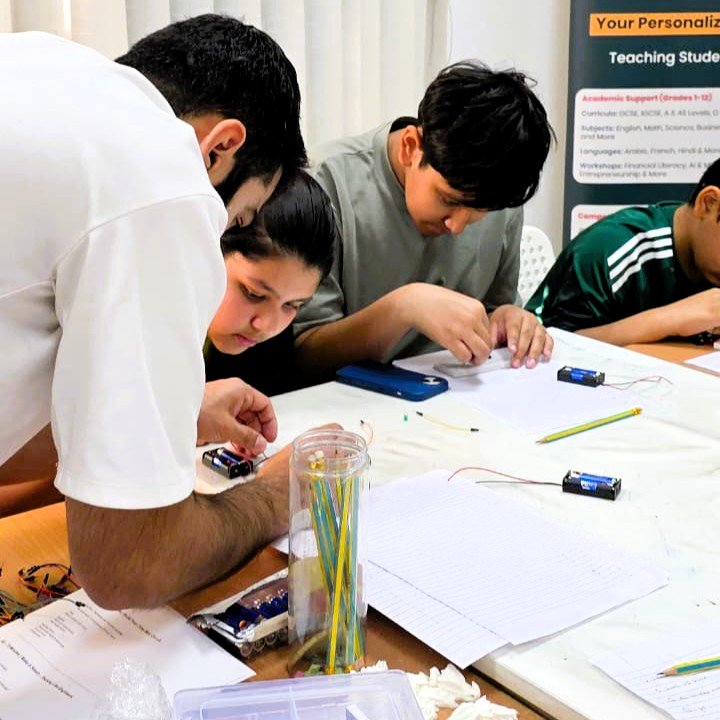
There are two opposite mistakes in teaching programming, and we see both regularly.
The first is treating block programming as a toy to be escaped as quickly as possible. The second is throwing students into text-based code before they have any mental model of what a program is, then concluding they “aren’t technical” when they struggle.
The progression that works is neither. It is a deliberate sequence where each stage removes one difficulty at a time.
Stage 1: Blocks, on hardware that does something
Block editors like MakeCode exist to remove syntax as a barrier. A beginner writing text code faces two problems simultaneously: working out what the computer should do, and expressing it in a language that rejects them over a missing semicolon. Blocks delete the second problem entirely.
What matters here is that the blocks control real hardware. A simulation on screen is abstract; a motor that spins because you changed a number is not. That physical feedback loop is what builds intuition.
What students are actually learning: sequence, loops, conditionals, variables, and that computers do exactly what you tell them.
Stage 2: The same project, in text
This is the stage most curricula get wrong, by starting a completely new project in a new language on new hardware. Three changes at once, and students lose their footing.
Instead: take a project a student has already built in blocks and rewrite it in Arduino C++ or Python on the same board. They already know what it should do and what “working” looks like. The only new thing is the notation.
This is why we favour kits that support both — the ESP32 Smart Car, for instance, runs block code, Arduino and Python on identical hardware. The platform stops being the variable.
What students are actually learning: that syntax is a surface detail, and the logic they already understood is the real content.
Stage 3: Something that was never in the instructions
A student who can follow a tutorial has not yet learned to program. The real threshold is building something nobody handed them steps for.
This stage needs a platform that accepts parts beyond the original kit — a sensor the tutorial never mentioned, a motor driver bought separately. Closed proprietary systems stall here, which is why standard platforms matter.
Expect this stage to be uncomfortable. Things will not work, and debugging is the skill being learned. A student who has never had a project fail has never really programmed.
What students are actually learning: decomposition, debugging, and reading documentation.
How to tell a student is ready to move on
Not by time served, and not by lessons completed. The signals we would look for:
- Ready for text code: they modify block programs confidently, and predict what a change will do before running it
- Ready for open projects: they debug their own errors rather than asking what is wrong
- Not ready yet: they can copy a program that works but cannot explain why it works
That last one is worth dwelling on. A student who copies successfully looks like a student who is succeeding, right up until the assessment.
Why the hardware choice matters here
A progression like this falls apart if the hardware changes at every stage, because each change resets the student’s confidence. The practical answer is to choose a platform that spans the whole journey.
That is the reasoning behind how our kits are built: the same boards run block editors for beginners and Arduino or Python for students who have moved on. A class can sit at three different stages using one set of hardware — which also happens to be much easier to budget for.
If you are planning a scheme of work and want to talk it through, get in touch, or browse our guided courses to see how we structure the sequence.
